
How to Install a DCC Decoder in an HO Steam Locomotive (Beginner-Friendly)
")
How to Install a DCC Decoder in a HO Steam Locomotive (Beginner‑Friendly)
New to DCC? This quick guide walks you through planning, wiring, testing, and installing a decoder in a HO steam locomotive—using parts and tools we trust at Midwest Model RR.
What You’ll Need
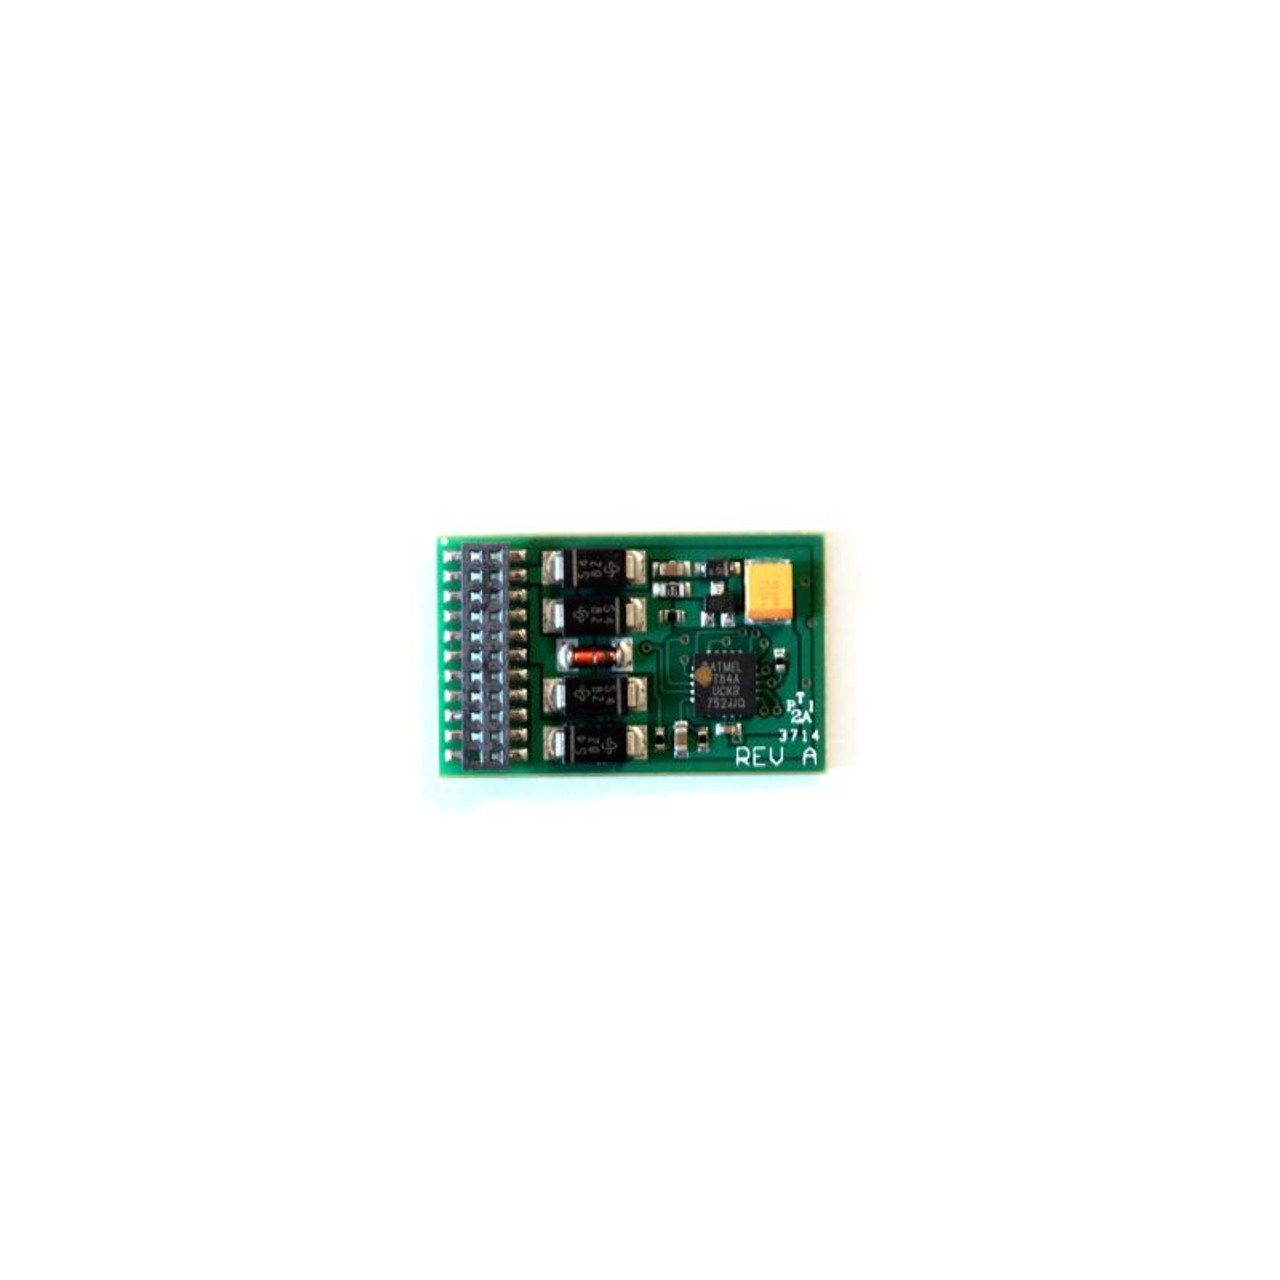
- Suitable DCC decoder (check plug type and current draw)
- Fine‑tip soldering iron & supplies
- Heat‑shrink tubing, Kapton tape, multimeter
- DCC system for programming and testing
Step‑by‑Step
- Inspect & Identify. Verify motor isolation and connector type (8‑pin, 21‑pin, etc.).
- Prep the Workbench. Good light, helping hands, and a cool iron (~330–360°C) protect fragile wires.
- Install & Insulate. Mount the decoder securely; route wires away from gears. Kapton over bare solder joints.
- Program. On your DCC system, set address and basic CVs (start voltage, acceleration, momentum).
- Test on Rollers. Verify smooth start/stop, headlight, and any keep‑alive/sound features.
Pro Tip: If your model is “DCC‑ready” with an 8‑pin socket, adapters like 9‑pin JST or 21‑pin boards simplify upgrades later. See this 21‑pin SoundTraxx option for modern HO installs.
Recommended Tools
- ISO‑Tip 7710 Cordless Soldering Kit or ISO‑Tip 7700 Quick Charge Iron
- HO Steam Locomotives (DCC‑ready options available)
FAQs
Can I add sound later?
Yes—choose a multifunction decoder with speaker pads or plan space in the tender for a sugar‑cube speaker.
Will it run on DC after installation?
Many decoders support DC, but check the product page for your specific unit.
14th Aug 2025
Recent Posts
-
Weighting Freight Cars for Better Performance: NMRA Standards, Practical Methods, and Tracking Tips
Weighting Freight Cars for Better Performance: NMRA Standards, Practical Methods, and Tracking Tips
-

Metal vs Plastic Wheelsets: Pros, Cons, and How to Choose the Right Upgrade for Your Model Railroad
Metal vs Plastic Wheelsets: Pros, Cons, and How to Choose the Right Upgrade for Your Model Railroad
-

Weathering Rolling Stock for Realism: Practical Model Train Weathering Techniques That Look Like the Prototype
Weathering Rolling Stock for Realism: Practical Model Train Weathering Techniques That Look Like the