
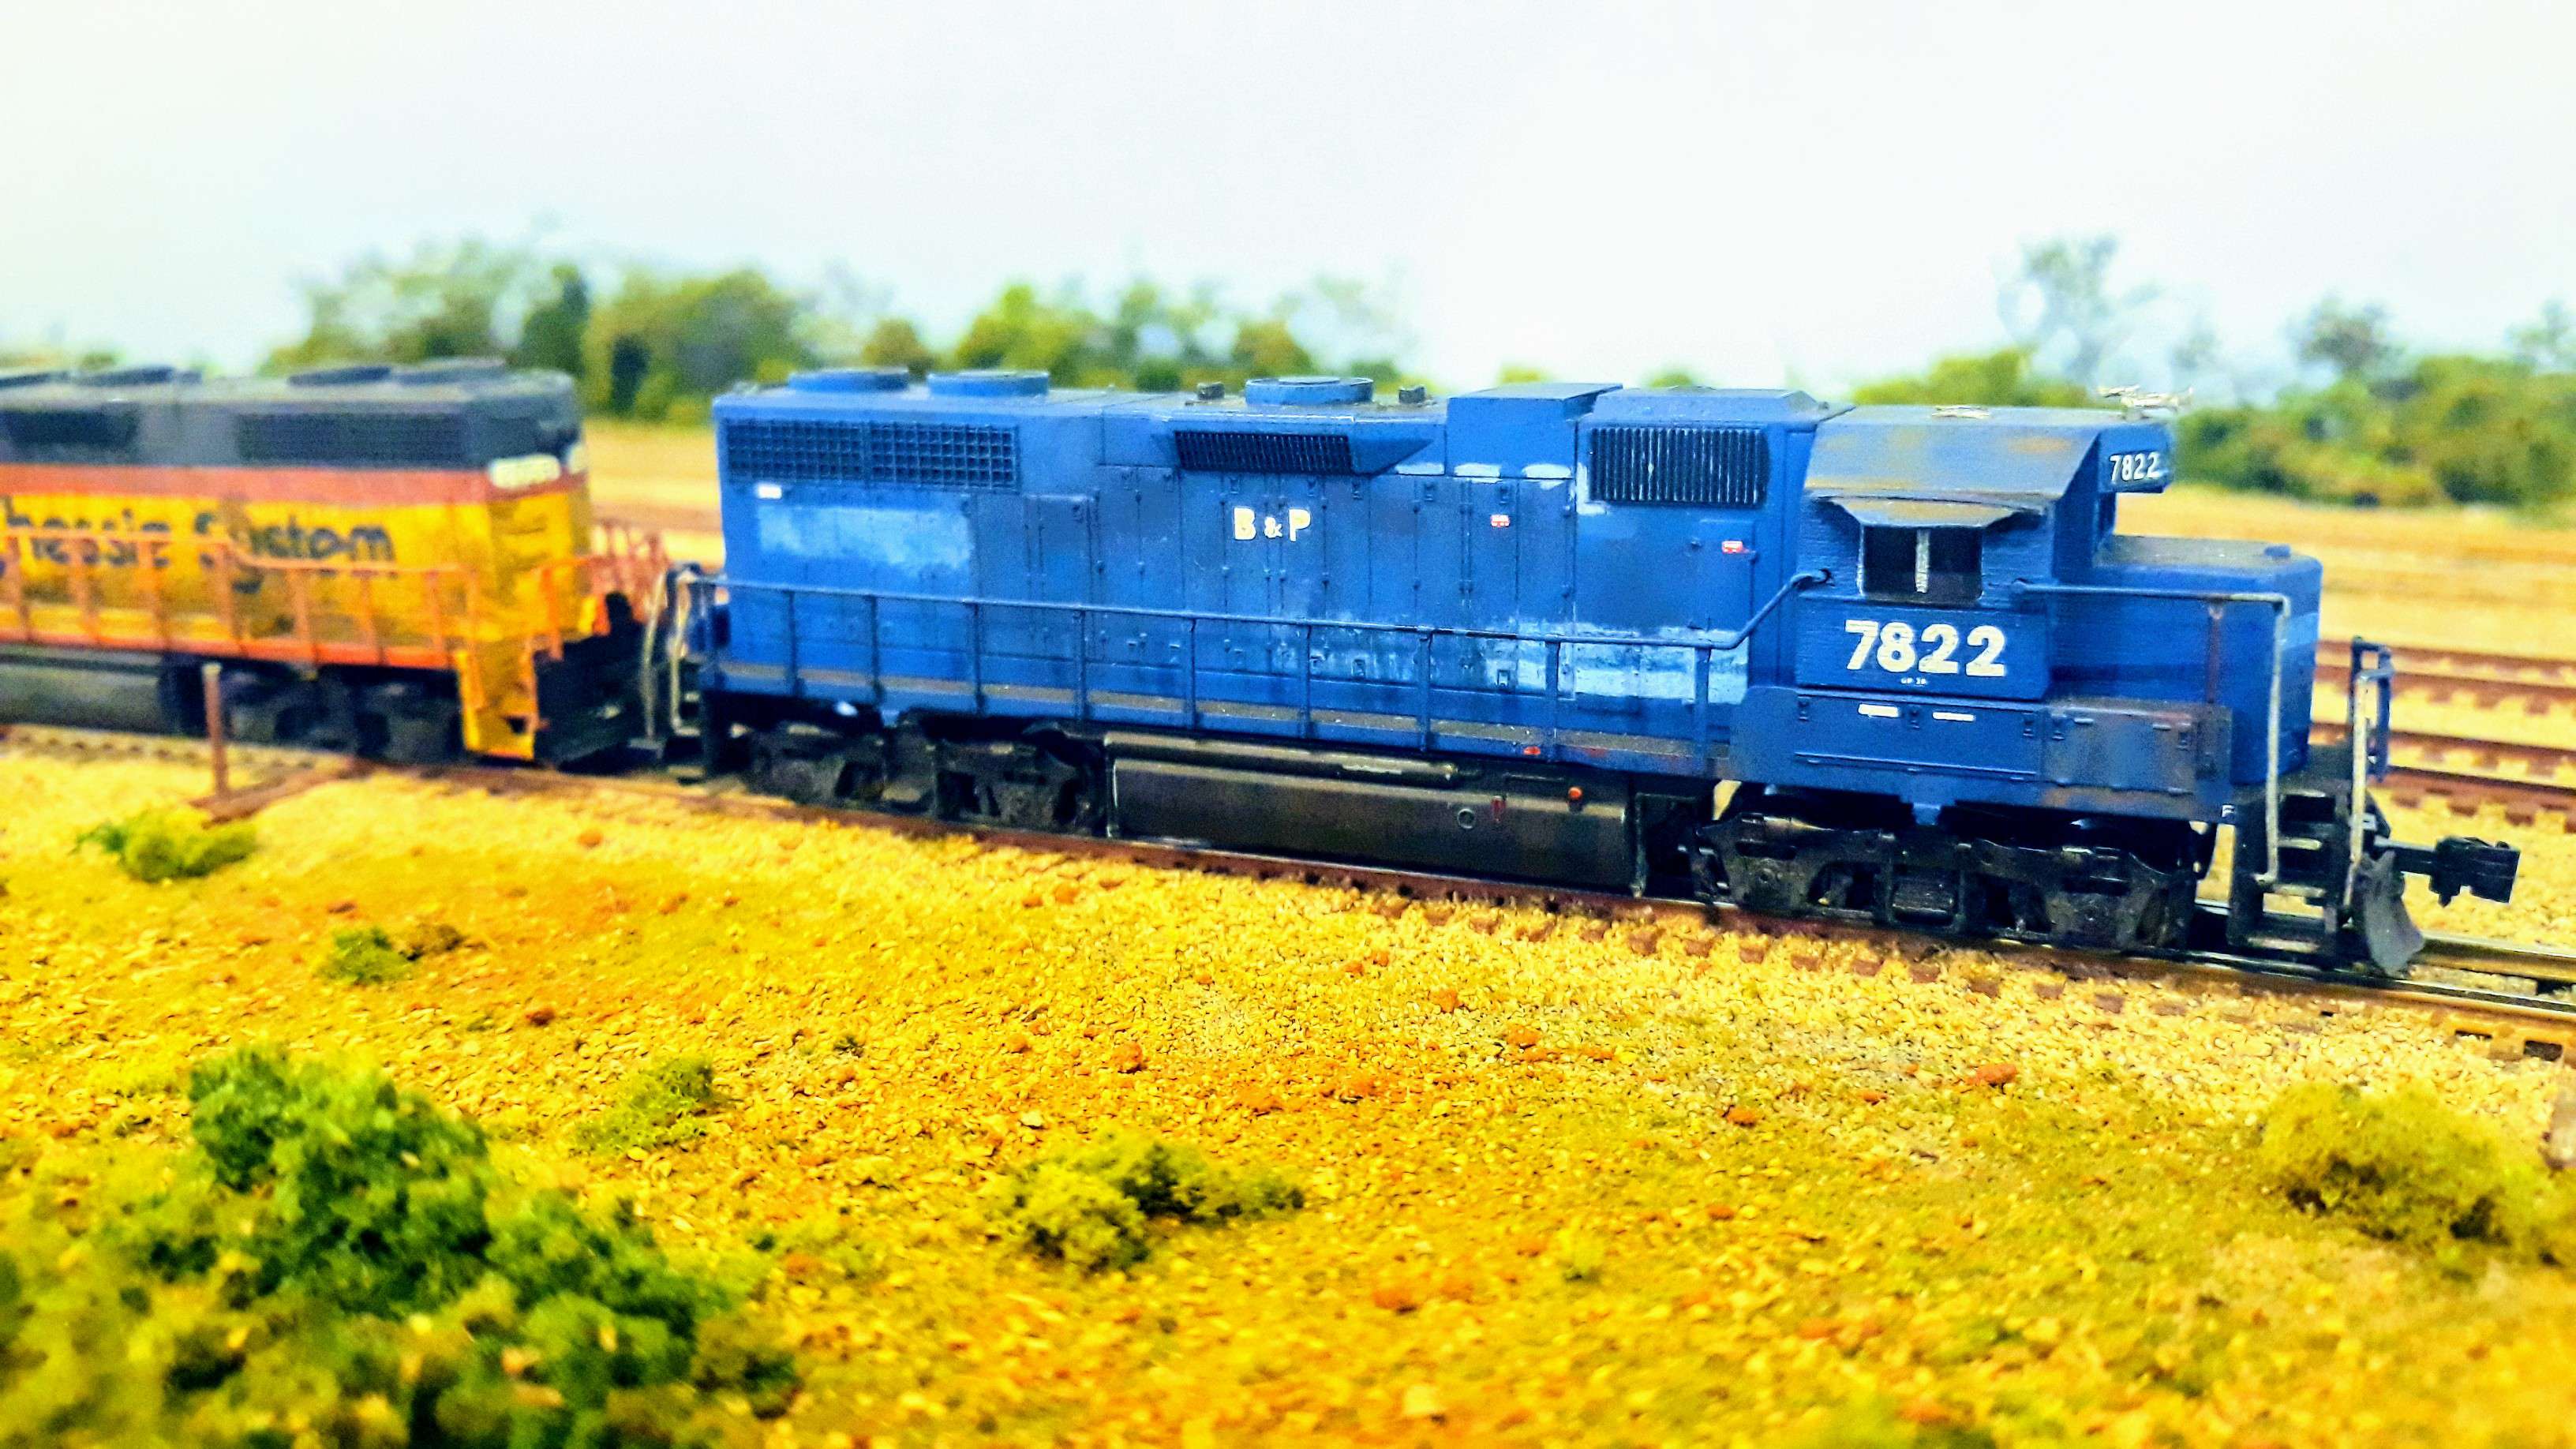
Mastering the Art of Weathering: Bringing Realism to Model Railroad Locomotives and Rolling Stock

Weathering model railroad locomotives and rolling stock is a fascinating and rewarding aspect of model railroading. It involves the application of techniques and materials to replicate the wear and tear that real trains experience over time, adding a layer of realism to your model railway. This guide will cover the basics of weathering, the tools and materials you’ll need, and step-by-step techniques to help you achieve stunning results.
Why Weather Your Models?
Weathering brings your model railroad to life by:
- Adding Realism: Real trains are rarely spotless. Dirt, rust, grime, and fading paint are all part of the railroading landscape.
- Enhancing Detail: Weathering accentuates the fine details of your models, making them stand out.
- Telling a Story: Each weathered locomotive or piece of rolling stock tells a story of its service life, contributing to the overall narrative of your layout.
Tools and Materials
Before you start weathering, gather the following tools and materials:
- Airbrush and Compressor: For applying smooth, even coats of paint.
- Paintbrushes: Various sizes for detailed work.
- Acrylic and Enamel Paints: For rust, grime, and dirt effects.
- Weathering Powders and Pigments: To simulate dust, rust, and dirt.
- Chalk Pastels: Ground into powder for additional weathering effects.
- Solvents and Thinners: For blending and cleaning.
- Matte Varnish: To seal your work.
- Masking Tape: For protecting areas you don’t want to weather.
- Decals: For adding specific details like graffiti or company logos.
Basic Weathering Techniques
- Preparation:
- Clean Your Models: Remove any dust or grease from your models to ensure paint and weathering materials adhere properly.
- Disassemble if Necessary: If possible, disassemble your models to make it easier to work on individual parts.
- Painting:
- Base Coat: Apply a base coat of paint if the factory finish is too clean or if you want to change the color.
- Fading: Use a lighter shade of the base color to simulate sun-faded paint. Airbrushing is ideal for this.
- Applying Grime and Dirt:
- Airbrushing: Lightly airbrush grime and dirt colors along the lower sections of the locomotive or rolling stock, focusing on areas where dirt would naturally accumulate.
- Dry Brushing: Dip a dry brush into a small amount of paint, then wipe most of it off on a paper towel. Lightly brush the remaining paint onto raised details to highlight them.
- Rust Effects:
- Rust Streaks: Use a fine brush to apply rust-colored paint in streaks, simulating rust running down from bolts and seams.
- Rust Spots: Dab rust-colored paint onto areas where rust would naturally occur, such as edges and corners. Use a sponge for a more random, natural effect.
- Weathering Powders: Apply rust-colored powders to these areas for added texture.
- Detailing:
- Chalk Pastels and Pigments: Use these to add additional layers of dirt and grime. They can be applied dry or mixed with water for a more permanent effect.
- Graffiti and Decals: Add decals or hand-paint graffiti and other markings for a personalized touch.
- Sealing Your Work:
- Matte Varnish: Once you’re satisfied with the weathering, apply a coat of matte varnish to protect your work and reduce the shine from the paints and powders.
Advanced Weathering Techniques
- Chipping Paint:
- Use a small brush or sponge to dab on a chipping medium or hairspray over the base coat. Once dry, apply a top coat of paint. Use a wet brush to gently scrub areas where you want the paint to chip away, revealing the base coat underneath.
- Oil and Fuel Stains:
- Thin oil paints with turpentine and apply them to areas where oil and fuel stains would occur, such as around fuel caps and engine compartments. Use a cotton swab or brush to blend the edges.
- Dust and Mud:
- Mix weathering powders with water to create a paste. Apply this to the lower sections of your models to simulate caked-on mud. Once dry, use a stiff brush to remove excess and blend the edges.
Final Tips
- Study Real Trains: Observe real locomotives and rolling stock to understand where and how they weather.
- Less is More: It’s easy to overdo weathering. Start with light applications and build up slowly.
- Experiment: Try different techniques and materials to see what works best for you.
- Practice: Practice on spare or inexpensive models before applying techniques to your prized pieces.
Weathering model railroad locomotives and rolling stock is an art form that can greatly enhance the realism and character of your model railway. With patience, practice, and attention to detail, you can create stunningly realistic models that tell a rich and compelling story of life on the rails.
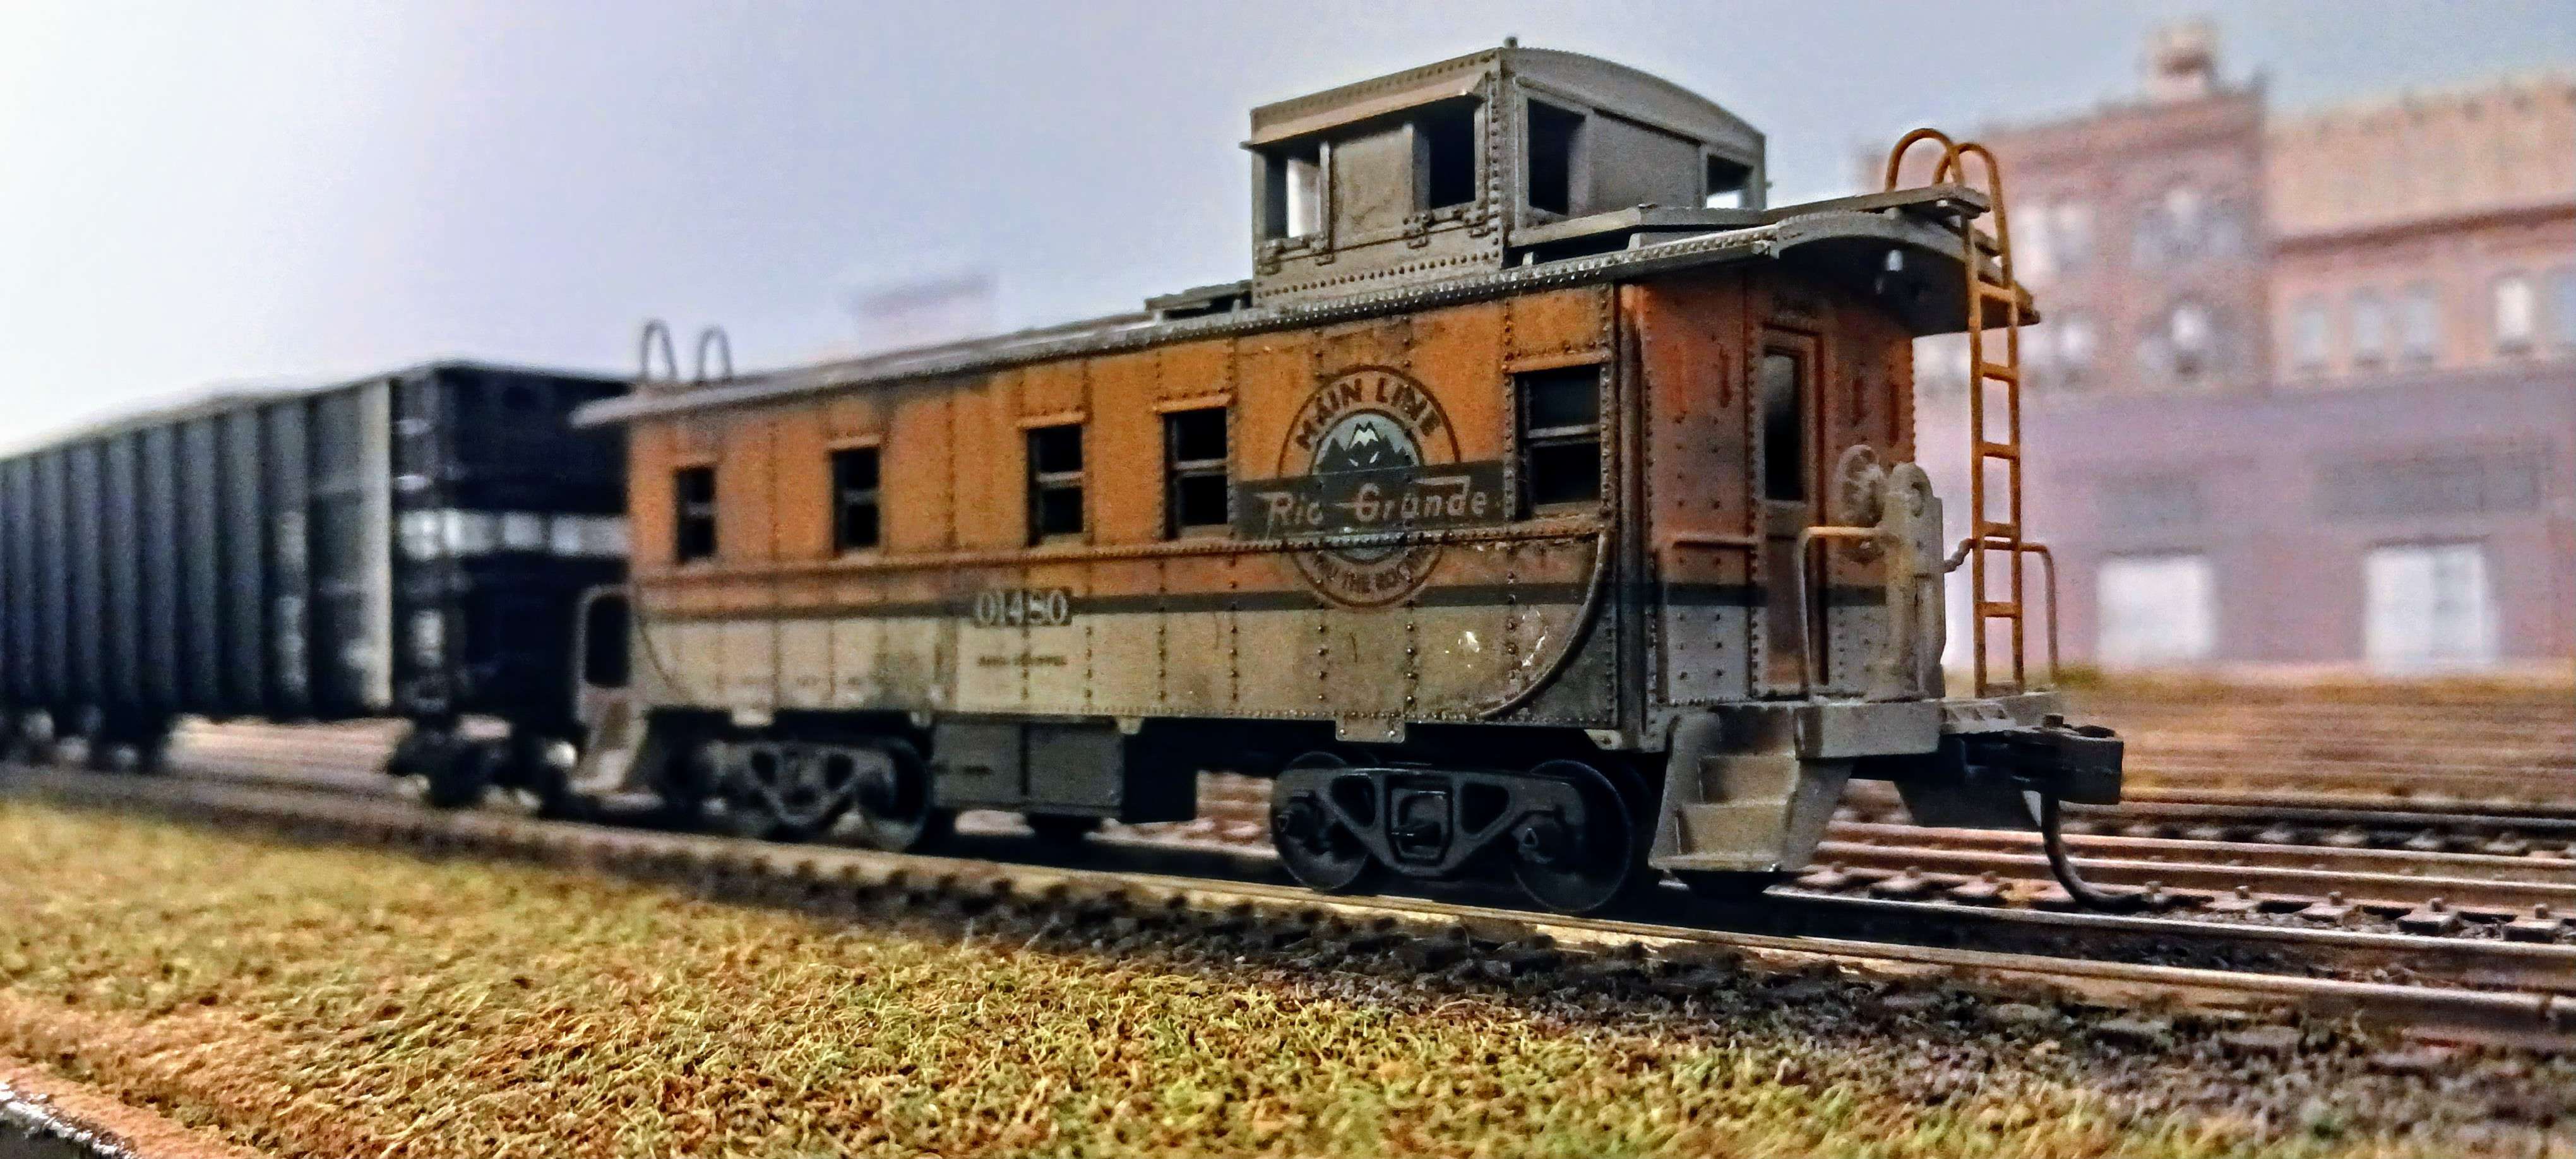
Photos Courtesy of Jason Stiles
Rio Grande Caboose Dave Acheson's HO Layout
Recent Posts
-
Weighting Freight Cars for Better Performance: NMRA Standards, Practical Methods, and Tracking Tips
Weighting Freight Cars for Better Performance: NMRA Standards, Practical Methods, and Tracking Tips
-

Metal vs Plastic Wheelsets: Pros, Cons, and How to Choose the Right Upgrade for Your Model Railroad
Metal vs Plastic Wheelsets: Pros, Cons, and How to Choose the Right Upgrade for Your Model Railroad
-

Weathering Rolling Stock for Realism: Practical Model Train Weathering Techniques That Look Like the Prototype
Weathering Rolling Stock for Realism: Practical Model Train Weathering Techniques That Look Like the